Building an Augmented Reality Treasure Hunt with A-Frame and AR.js
Written by Sophia van Valkenburg
Sophia van Valkenburg on LinkedIn
At CBRE Build, we explore new technologies with potential applications to real estate tech, and also for fun! Augmented Reality (AR) is one such area that we’ve recently been exploring. Mobile AR has gained popularity in recent years with the release of apps like Pokemon Go and Snapchat Lenses.
Last year, Apple and Google released new frameworks, ARKit and ARCore, to meet the increasing demand for AR mobile apps, while new AR headsets like Microsoft Hololensand Magic Leap have generated a lot of buzz. We decided to experiment with AR by creating a fun project that can be enjoyed by many! This blog post will describe:
- our app—an AR treasure hunt: https://ar-builders.cbrebuild.com/ (to play the game, you will need to view or print the images here)
- our experience using web AR frameworks A-Frame and AR.js
- our development process.
We hope this post will be useful to you if you are interested in working with A-Frame and AR.js to create a web-based AR application!
AR Builders—A Treasure Hunt
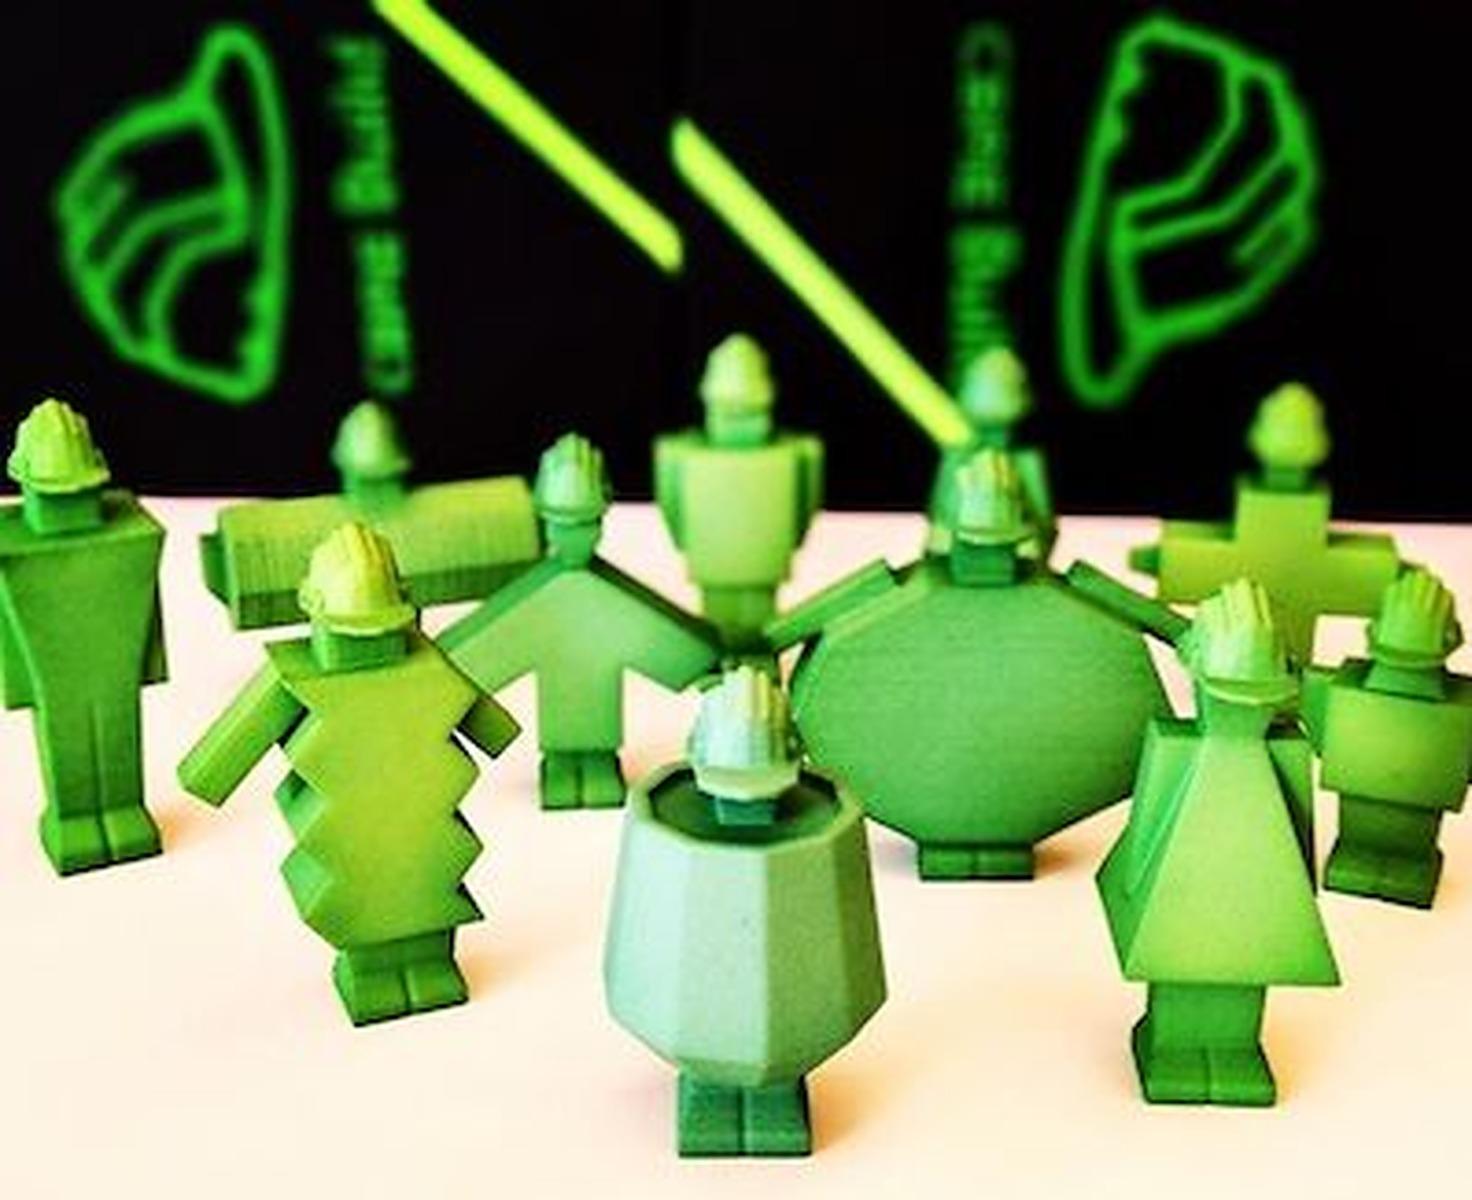
On May 23, CBRE Build hosted a open house for NYCxDESIGN, New York City’s annual celebration of design, to showcase our products and design processes. As part of that, we created an augmented reality treasure hunt to encourage visitors to interact with our mascots, the CBRE Builders. In addition, we built two iPad applications to show our 3D building models in AR, which we will cover in a later blog post.

The Builders represent our team’s individuality and inclusiveness, and express our collaborative, scrappy spirit. They add a human touch to our techy visual style. So we decided an AR treasure hunt could be a playful and entertaining way to introduce visitors to our office culture and brand!
Throughout the office, we placed special images printed out on paper, or “Markers”, that show a Builder when you view the Marker through your phone (using Safari on iOS and Chrome on Android, as long at it has WebGL and WebRTC enabled). Other Markers show a hidden “treasure”, like a hammer or a screwdriver.


When you tap on a Builder, a dialogue bubble appears and asks you to look for a specific treasure. By finding the correct Marker with the Builder’s treasure, the player can unlock new dialogue! Below is an example of this dialogue sequence.


AR Frameworks
We originally built a prototype app using the popular 3D game engine, Unity, and the leading AR platform, Vuforia, but we wanted users to be able to play our game at our event without needing to download an app. We eventually settled on A-Frame and AR.js, which allowed us to create a web application that anyone with a WebGL-enabled phone could view.
A-Frame is a web framework for building virtual reality experiences, while AR.js is a javascript library based on ARToolKit, one of the first AR SDKs for mobile. We didn’t need any of the fancier features of Vuforia, like object recognition or plane detection, and while image detection in AR.js is not quite as powerful as Vuforia, it did the trick for our purposes. A-Frame and AR.js are also open source, and supporting open source projects is important to our team.
Plus, the setup was so simple it couldn’t be beat. We followed this A-Frame and AR.jstutorial and got an example running with less than 10 lines of HTML! For the sake of brevity, I’ve glossed over some of the implementation details covered in that tutorial, so if you are unfamiliar with A-Frame and AR.js, I recommend taking a look at that link before reading this post.
Development
Our development process was comprised of 4 parts:
- Designing Marker images
- Adding Marker images & Builder models to the A-Frame HTML template
- Implementing speech bubble dialogue interaction
- Keeping track of player inventory
Designing Marker Images
Once we got our first AR example working, our next step was to design the Markers that would represent our Builders and treasures. This article by Nicolò Carpignoli provides a great overview of AR.js and creating your own Markers. In particular, Markers have strict guidelines in order for them to be properly detected:
- The maximum resolution of a marker is 16×16 pixels
- They must be square in shape
- They cannot have white/transparent areas, only light grey (e.g. #F0F0F0)
- They cannot contain colors, only black and light grey
- They have to contain simple text, like one letter, a number, or a symbol.
This list should be the first thing you consult if you’re having trouble getting Marker detection to work. Initially, we created Markers with white backgrounds and colors, and were puzzled as to why they didn’t work until we found this list.
We finally settled on using simple shapes for our Markers, along with the Builder’s name or a question mark for the treasures (since we didn’t want the location of the treasures to be obvious). We used this tool provided by AR.js to create the Marker image data (“.patt”) files for the image detection algorithm. Each Marker must uniquely identify a Builder (or treasure), so we had to create a different Marker for each Builder (and treasure). Below is an example of the Markers for Builder Pyra and her hammer.


Adding Markers & 3D models to the A-Frame HTML Template
After designing the Marker images, it was time to put them into the A-Frame template so that AR.js could use them. We also needed to add the 3D Models (designed by our production team) to the template so they would appear on the screen when you viewed the Markers through your phone. This is achieved in 3 steps per 3D model:
- Add the src (
<a-asset-item>) of the 3D asset to the<a-assets>node of the template.
<a-asset-item id="pyra-obj" src="builder-models/Pyra.obj"></a-asset-item>- Add the src (
<a-marker>) of the Marker data file to the<a-scene>node of the template.
<a-marker id="pyra-marker" type="pattern" url="builder-markers/pyra.patt"></a-marker>- In order to “link” the Marker and the 3D model, add an
<a-entity>node with a reference to the 3D model inside the<a-marker>node created in the previous step.
<a-entity id="pyra" obj-model="obj: #pyra-obj;" material="color: green" rotation="0 180 0" position="0 0 0.5" scale="0.15 0.15 0.15"></a-entity>We customized the material, rotation, position, and scale of the model to get the right look for our game.
Put together, the HTML for the whole scene with one Builder looks like:
<a-scene embedded arjs> <a-assets> <a-asset-item id="pyra-obj" src="builder-models/Pyra.obj"></a-asset-item> </a-assets> <a-marker id="pyra-marker" type="pattern" url="builder-markers/pyra.patt"> <a-entity id="pyra" obj-model="obj: #pyra-obj;" material="color: green" rotation="0 180 0" position="0 0 0.5" scale="0.15 0.15 0.15"> </a-entity> </a-marker> <a-entity camera></a-entity> </a-scene>This is pretty similar to the code used in the tutorial we followed, with the addition of the 3D model in obj format. At this point, our app could recognize Markers and show Builders, but the user could not yet interact with the Builders.
Implementing Speech Bubble Dialogue Interaction
When the user taps the screen with a particular Builder, we want the app to show that Builder’s dialogue. This turned out to be the trickiest part of the project, because we needed to figure out two problems:
- How to detect a tap
- How to determine which Builder was tapped
It’s not yet possible to add a tap handler directly on a Builder’s <a-entity>. Therefore, we initially tried performing a ray-intersection test when the user tapped the screen to detect whether the ray extending out from the tap location intersected with the Builder model. This worked most of the time, but there were some edge cases where the intersection test failed.
We may have been able to debug the issue, but instead opted for a simpler approach: detect a tap when the user taps the screen, regardless of whether they are hitting the Builder. We figured any time a user tapped the screen, they wanted to see dialogue, so doing a complicated intersection test to see if they hit the Builder was unnecessary.
We implemented the tap functionality by defining a new component called accepts-clicks:
AFRAME.registerComponent('accepts-clicks', { init: function() { this.el.addEventListener('touchend', handleClickEvent); this.el.addEventListener('click', handleClickEvent); } });and then adding it as an attribute to <a-scene>:
<a-scene embedded arjs accepts-clicks>Note that accepts-clicks is not a standard component of A-Frame/AR.js — We’ve defined it specifically for this application.
This solved our intersection test problems, but one issue remained: now that we were registering the tap handler with the scene, there was no longer information about which Builder was tapped. This is crucial because without that information, we would not know which dialogue to show.
Initially, we thought there might be an event fired when a Marker is successfully detected. We could use this to set a value indicating which Builder was currently on the screen. However, after some research we realized this was not yet a supported feature of AR.js.
Luckily, each Marker’s HTML entity has a property object3D.visible. This value indicates whether the 3D model associated with that Marker is visible on the screen or not. Based on our design of the treasure hunt, only one Marker would be visible on the screen at once, so all we needed to do was loop through the Builders every time the screen was tapped and use the dialogue of the Builder whose object3D.visible is true.
function handleClickEvent() { for (var i = 0; i < builders.length; i++) { var builder = builders[i]; var builderMarker = document.querySelector("#" + builder.name + "-marker"); if (builderMarker && builderMarker.object3D.visible) { if (searchForBuilderTool(builder)) { toggleSpeechBubble(builder.successDialogue); } else { toggleSpeechBubble(builder.dialogue); } break; } } }One final detail was that we wanted the speech bubble to disappear if the user moved their phone away from the Marker. For that, we defined a “tick” handler (which gets called for every render loop of A-Frame).
AFRAME.registerComponent('accepts-clicks', { init: function() { this.el.addEventListener('touchend', handleClickEvent); this.el.addEventListener('click', handleClickEvent); }, tick: function() { hideSpeechBubbleIfNoMarker(); } });The function hideSpeechBubbleIfNoMarker() uses a similar test with object3D.visible to determine if the speech bubble should be hidden. If all Builders are hidden, also hide the speech bubble, but if any Builder is visible, keep the speech bubble.
function hideSpeechBubbleIfNoMarker() { var shouldHide = true; for (var i = 0; i < builders.length; i++) { var builderMarker = document.querySelector("#" + builders[i].name + "-marker"); if (builderMarker && builderMarker.object3D.visible) { shouldHide = false; break; } } // hide speech bubble };Now the speech bubble will disappear as soon as the Builder disappears.
Keeping Track of Player Inventory
The final piece to our treasure hunt was keeping track of which treasures the player had found. We defined several classes: Builder, Tool (aka treasures), and UserState.
The Builder class had fields for name, tool, initial dialogue, and alternate dialogue for after the user has found the treasure. The “tool” field was the treasure associated with that Builder. The Tool class had fields for name and dialogue. And finally, UserState had an array containing the inventory of treasures that the player had clicked on.

Every time the player clicked a tool, that tool would be added to the UserState. And every time the player clicked a Builder, we would check whether the tool associated with that Builder was in the UserState. If so, we would show the alternate dialogue.
Now that we’re keeping track of inventory, the treasure hunt app is essentially complete! We glossed over some details of how to show the speech bubble, but it is fairly standard HTML/CSS. You can view the complete code here (excluding 3D models).
Our AR treasure hunt was a great success! Many people enjoyed interacting with the Builders and searching for their treasures around the office during our open house. It was a fun foray into the world of AR, and only took a few days to complete the finished product. We highly recommend using A-Frame and AR.js for simple, marker-based AR projects!